Namespaces
Overview
A namespace is the unique identifier of a product or game that is implemented with AccelByte Cloud's backend services. There are two types of namespaces: Publisher Namespaces and Game Namespaces. Each type of namespace has its own purpose:
- Publisher Namespaces are created to represent your company. This namespace contains telemetry data for all of your games, as well as data about your players and other administrative features. We create this namespace for you, so it will be ready to use when you first access our AccelByte Cloud services. Each environment contains only one publisher namespace.
- Game Namespaces are standalone environments that contain every function, feature, and piece of data for each of your games separately. Game namespaces inherit Account data and Legal Agreements from their publisher namespaces.
Tutorials
How to Create a Game Namespace
You can create new Game Namespaces for new games. To do so, follow the steps below.
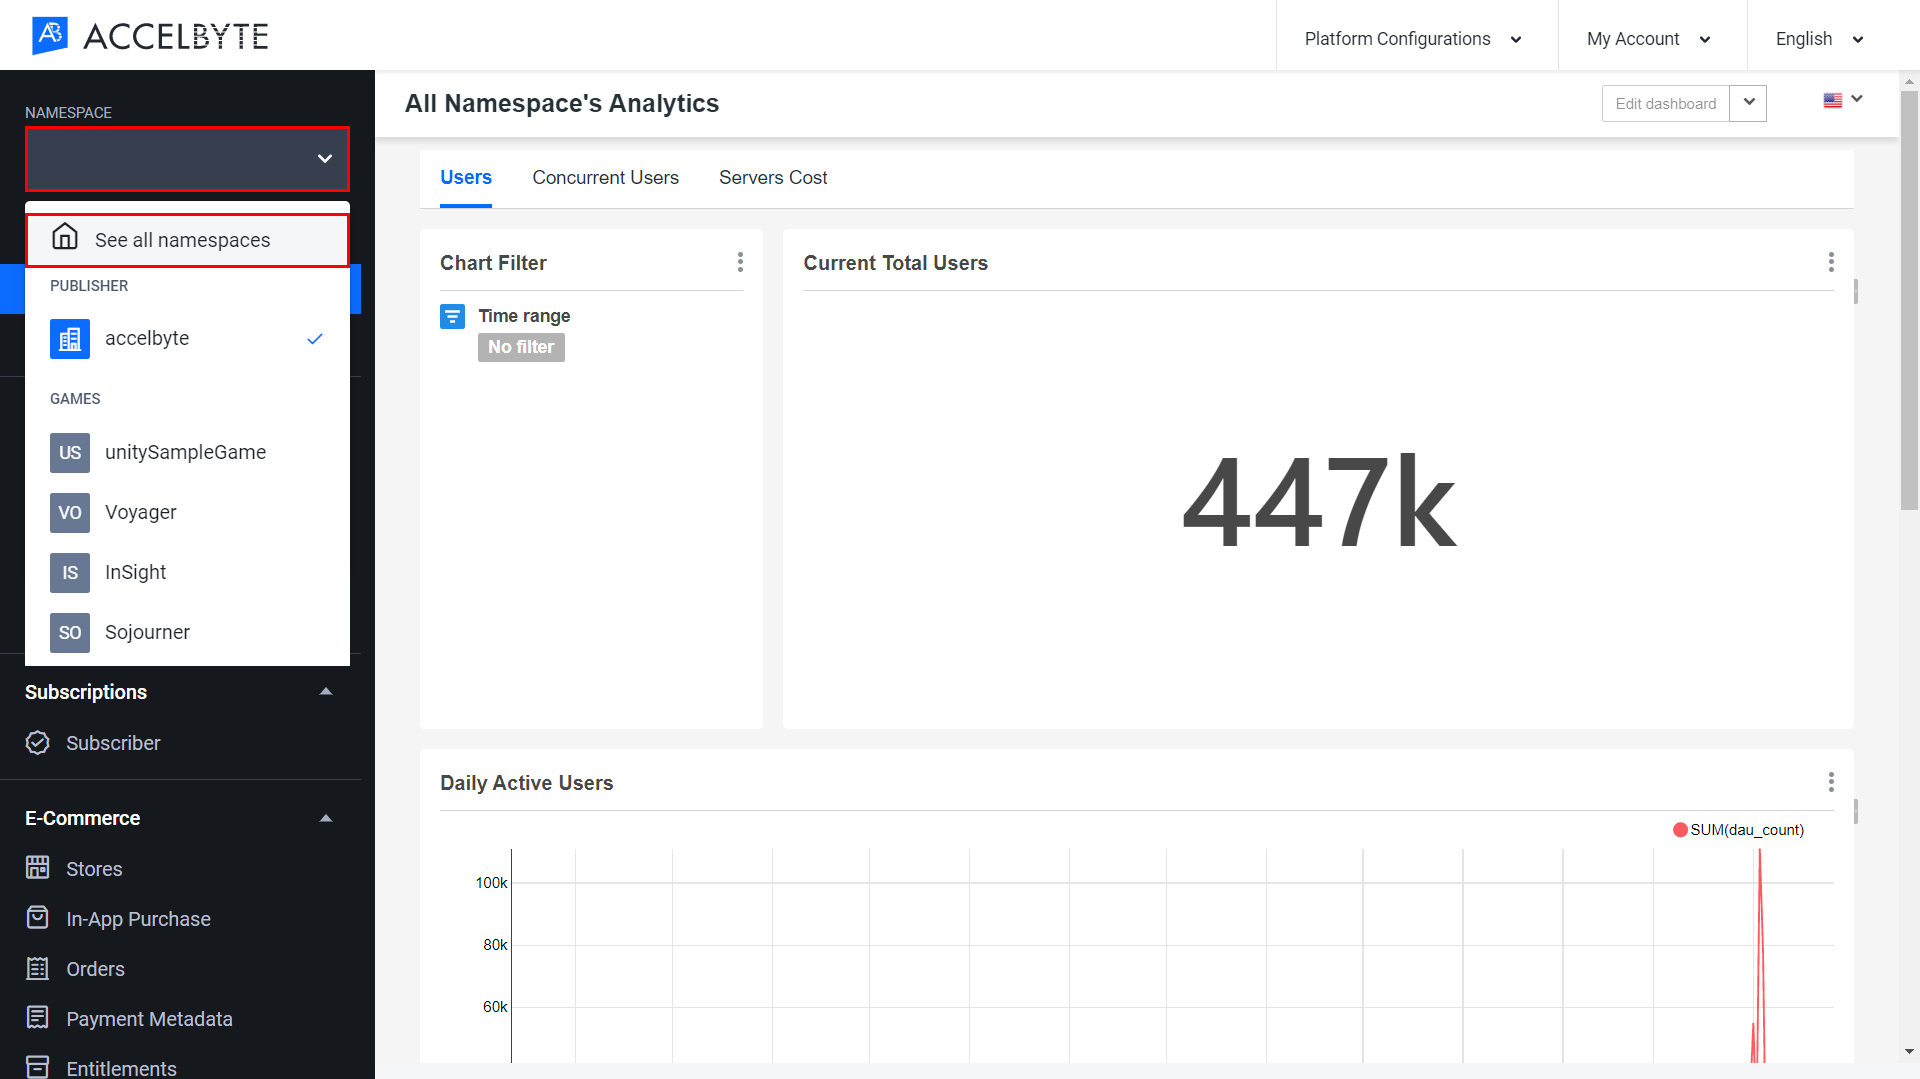
In the AccelByte Cloud Admin Portal, select the Namespace menu on the left sidebar, and then click See all Namespaces.

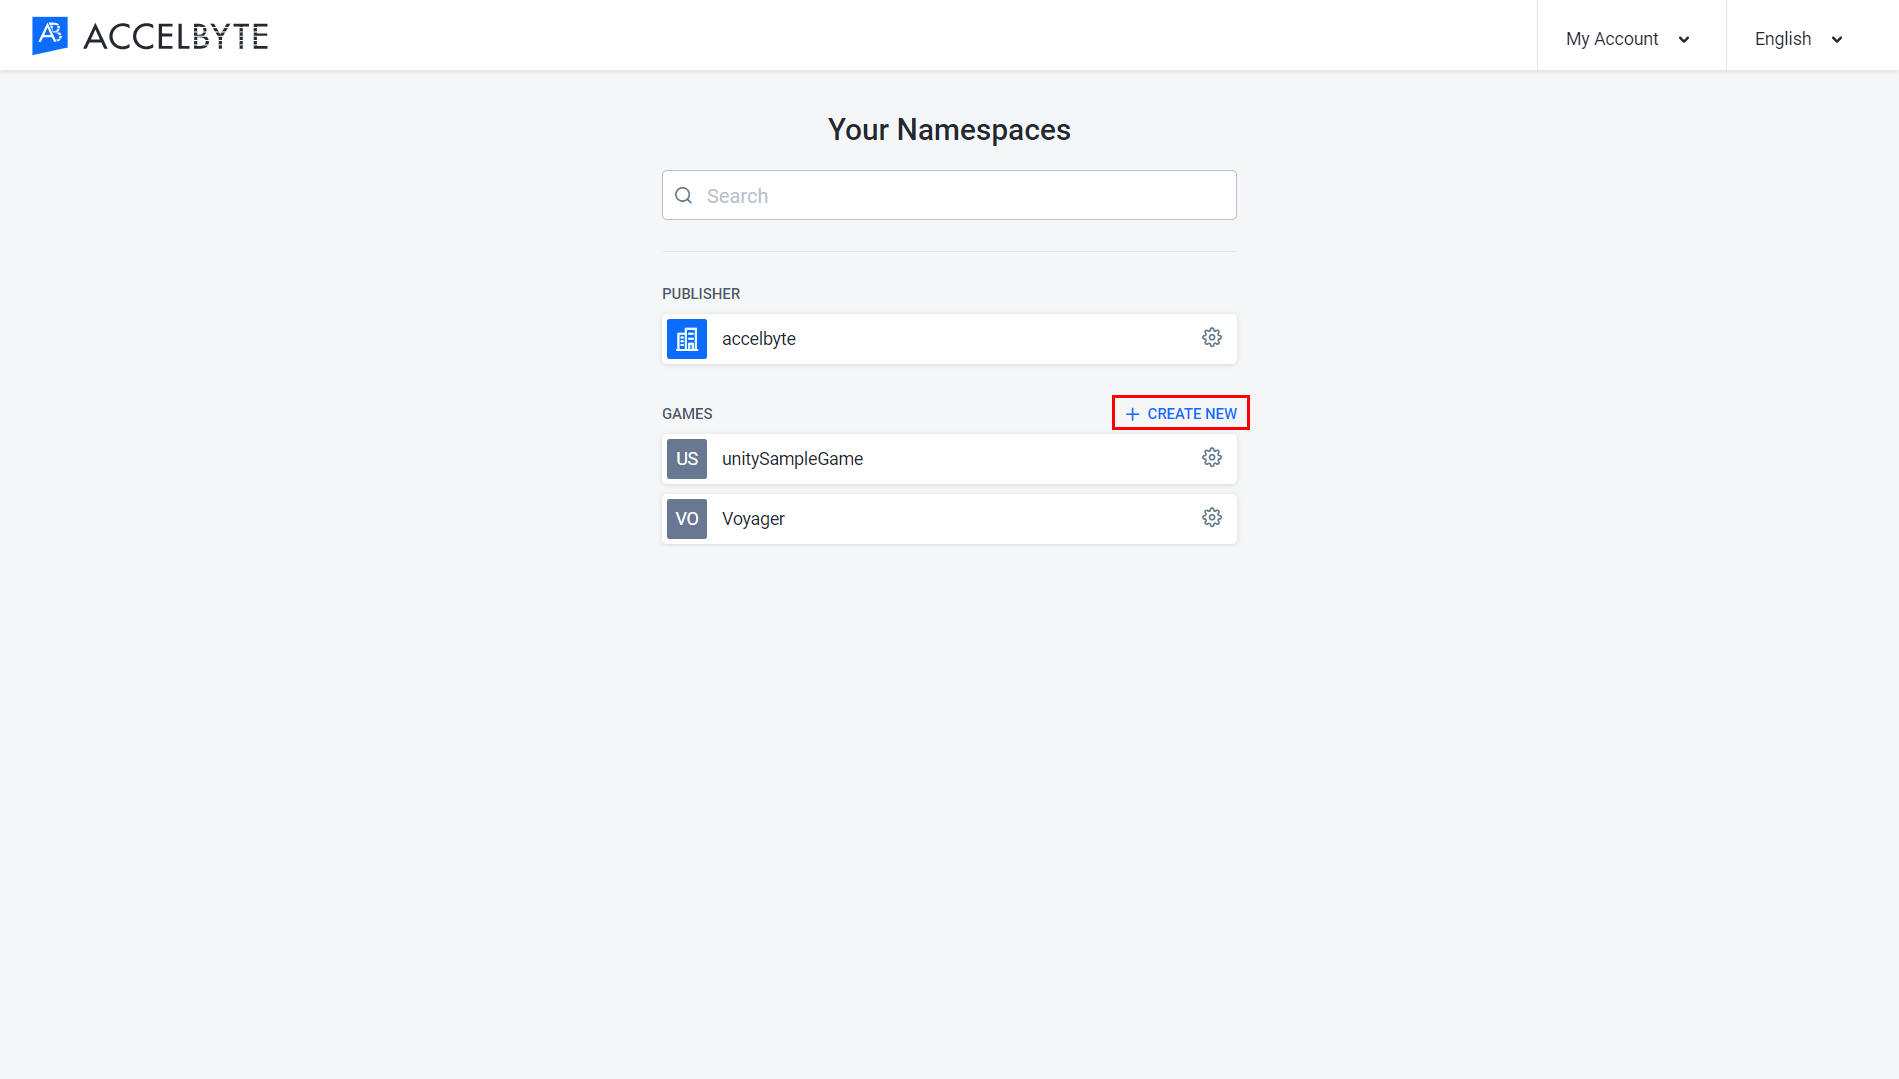
On the Your Namespaces page, click the Create New button.
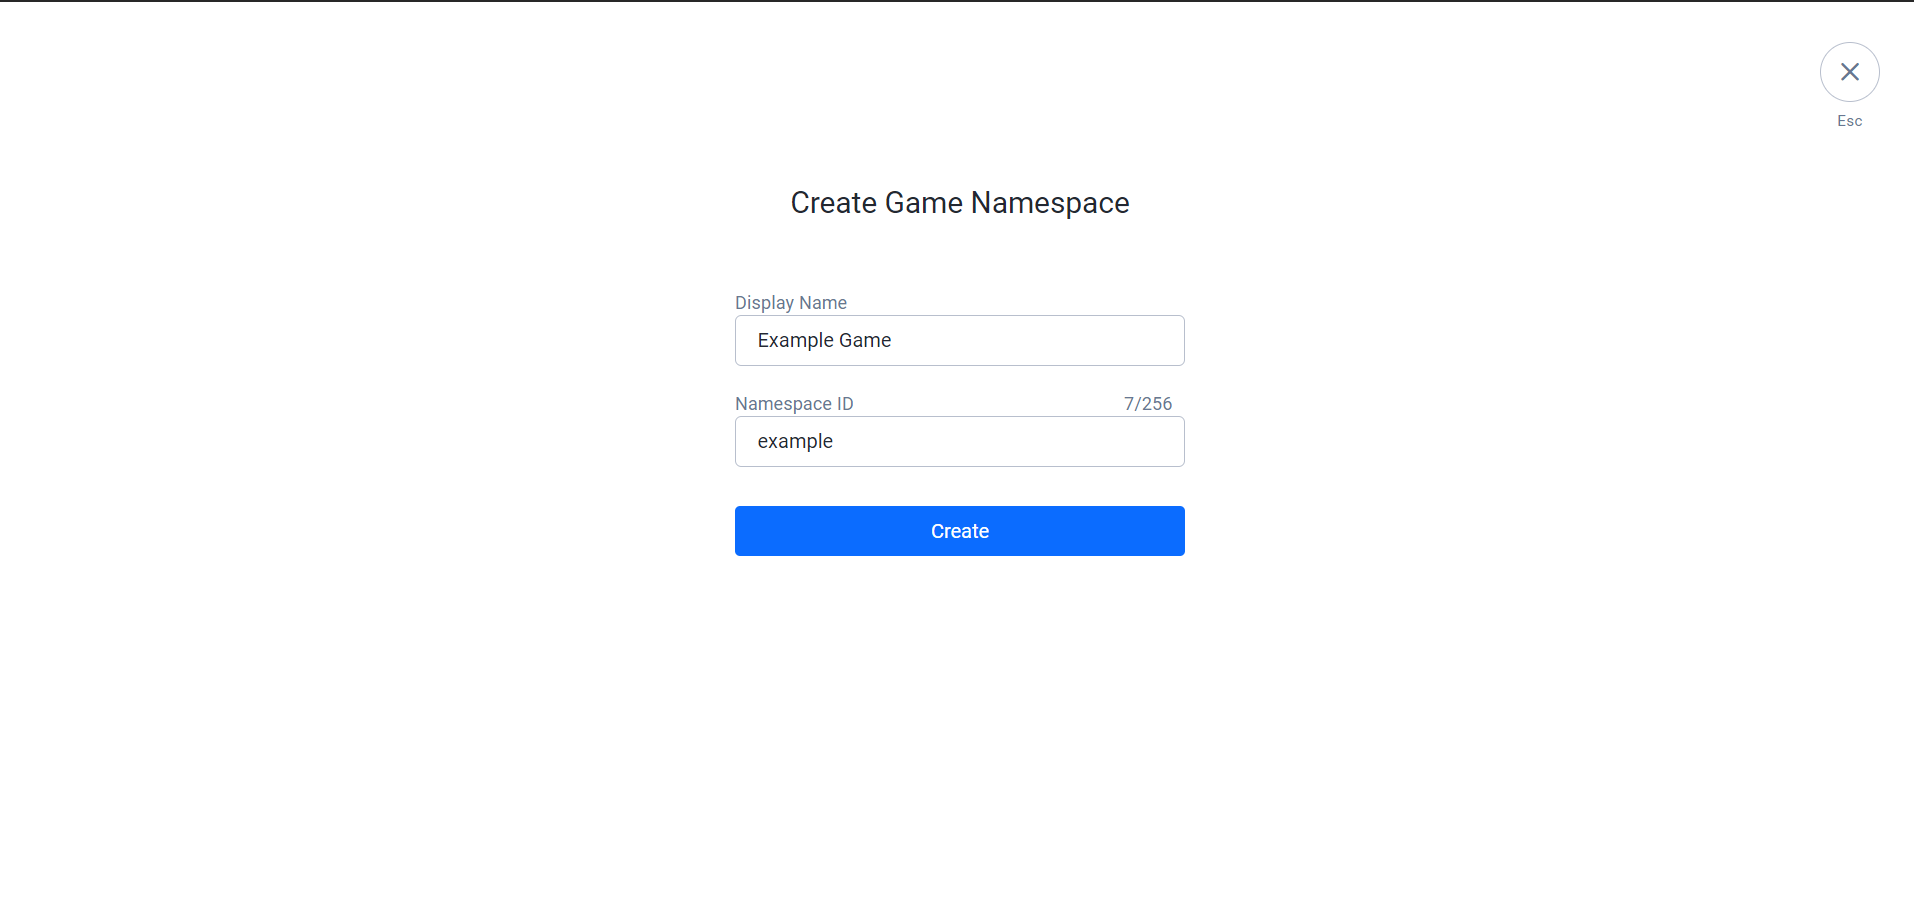
The Create Game Namespace form will appear. Fill in the required fields:
- Input a Display Name. The display name dictates how your namespace will appear in the AccelByte Cloud Admin Portal. Make sure to follow the naming rules below:
- Uppercase and lowercase letters and numbers are allowed.
- Space is allowed.
- Allowed special characters: apostrophe, comma, period, and hyphen.
- Special characters cannot appear twice in a row.
- The display name must start and end with alphanumeric characters.
- Input a Namespace ID. Your namespace ID is a unique ID that will be used in the backend. Once set, your namespace ID cannot be changed.
- Input a Display Name. The display name dictates how your namespace will appear in the AccelByte Cloud Admin Portal. Make sure to follow the naming rules below:
Once completed, click the Create button. Your new game namespace will be added to the list.
Switch Between Namespaces
To switch between namespace, follow steps below:
In the AccelByte Cloud Admin Portal, select the Namespace menu on the left sidebar, and then click See all namespaces.
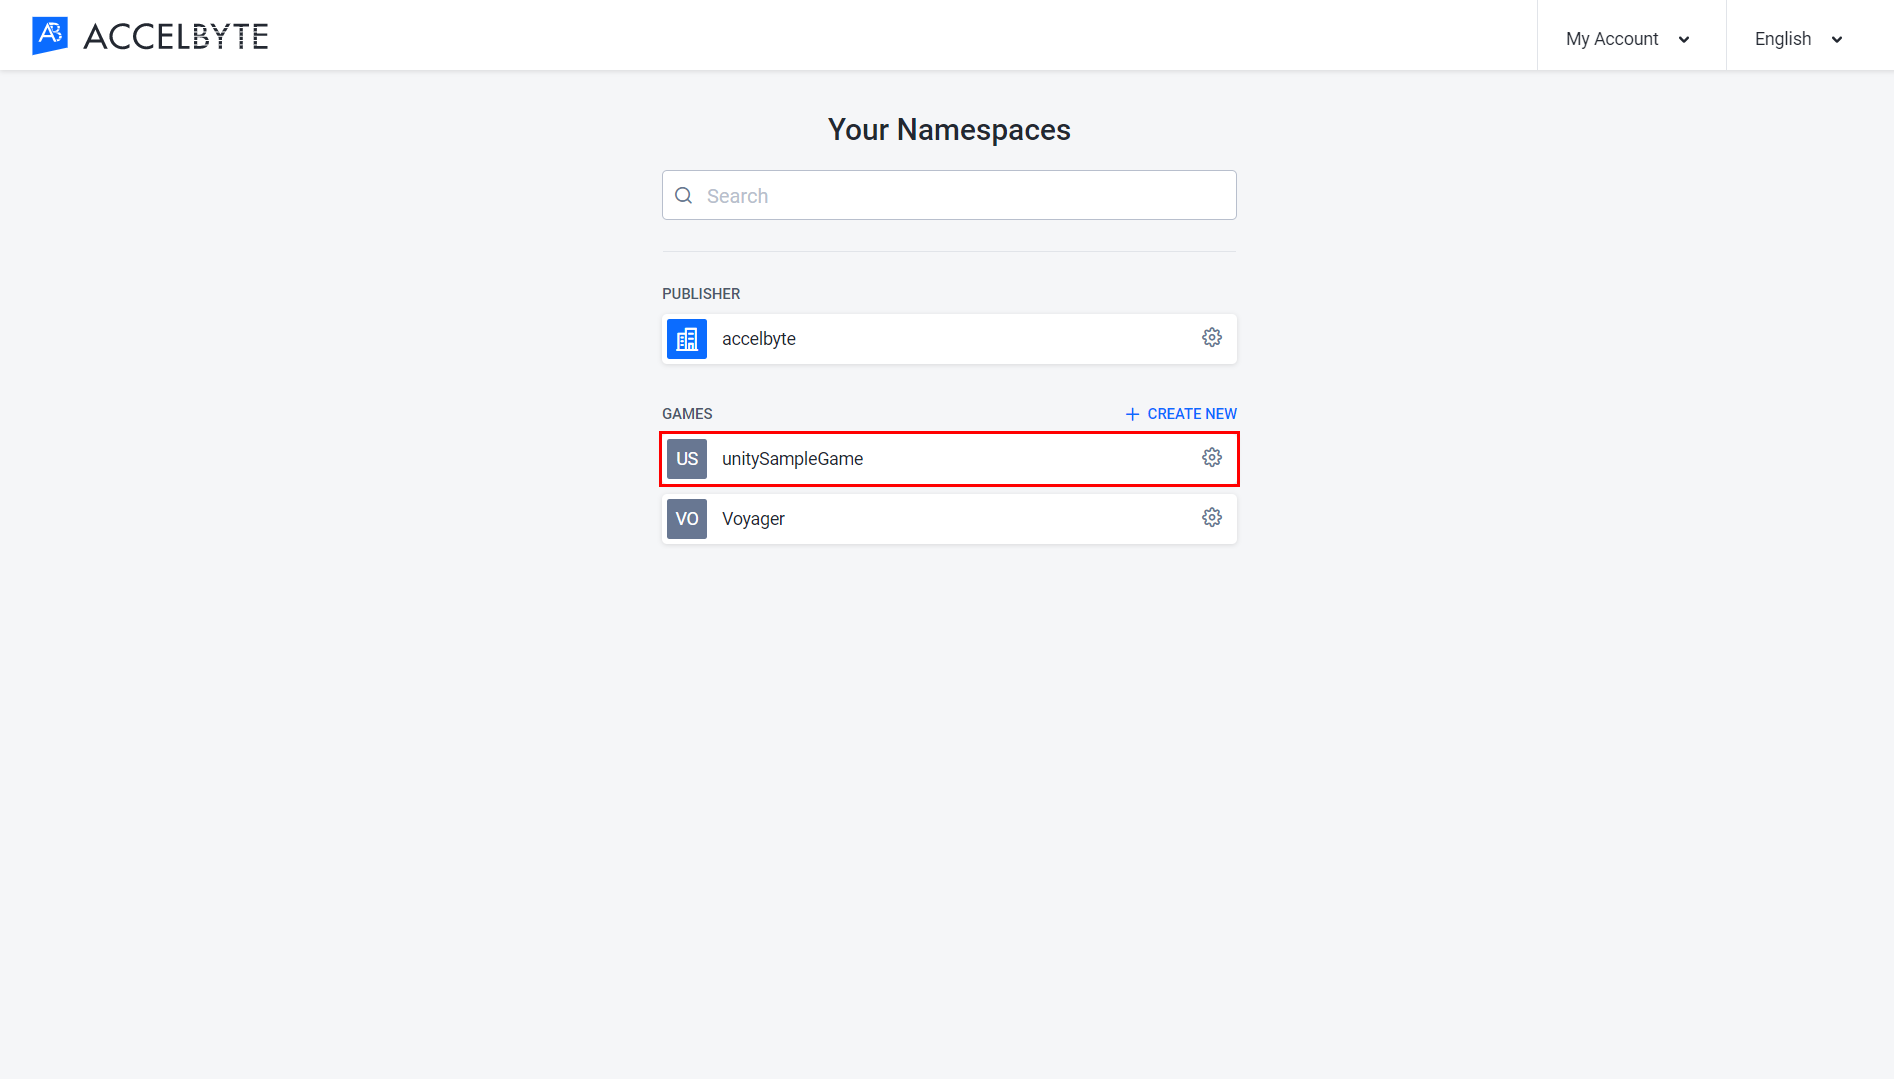
On the Your Namespaces page, choose the namespace that you want to use and you will be redirected to that namespace.
Edit the Name of a Game Namespace
In the AccelByte Cloud Admin Portal, select the Namespace menu on the left sidebar, and then click See all namespaces.

On the Your Namespaces page, choose the game namespace that you want to change and click the gear button.

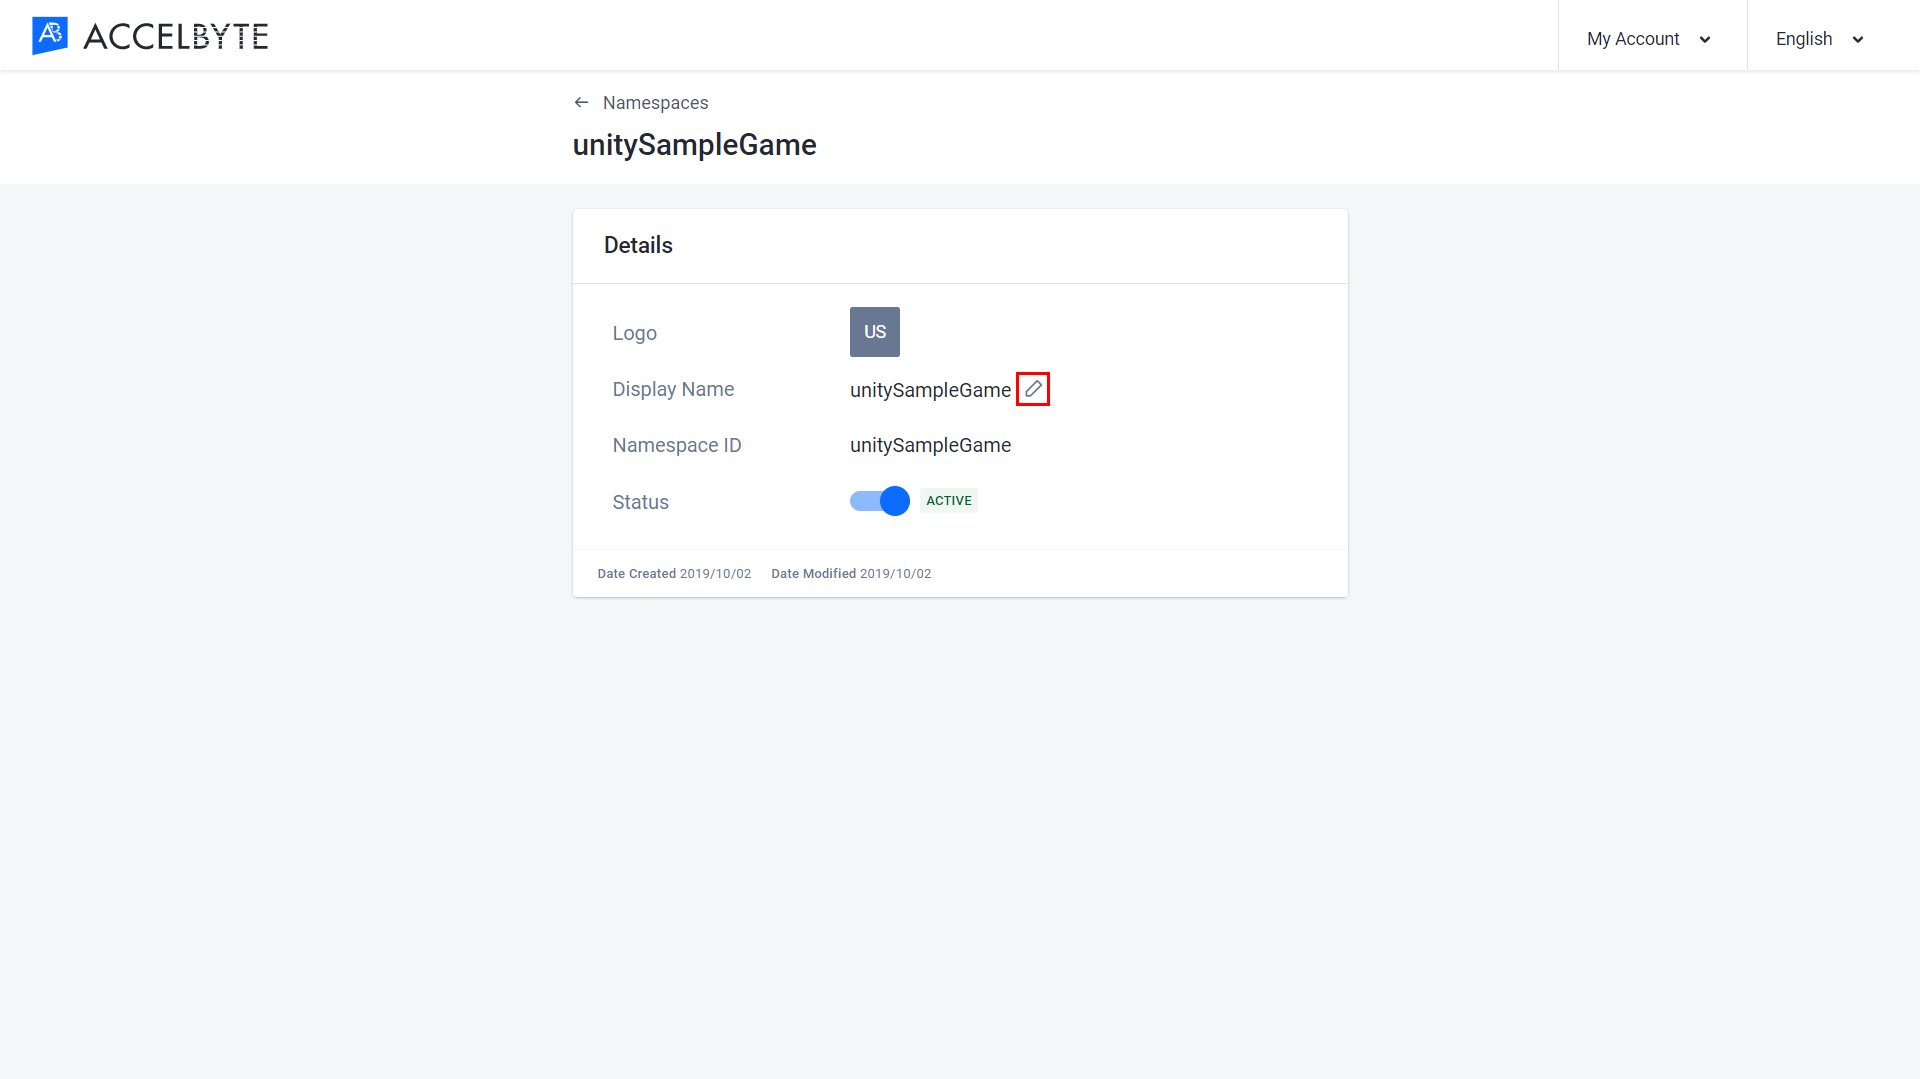
On the Details page, click the pencil button next to the Display Name field.
Type the new name in the Display Name field. Make sure to follow the naming rules below:
- Uppercase and lowercase letters and numbers are allowed.
- Space is allowed.
- Allowed special characters: apostrophe, comma, period, and hyphen.
- Special characters cannot appear twice or more in a row.
- The display name must start and end with alphanumeric characters.
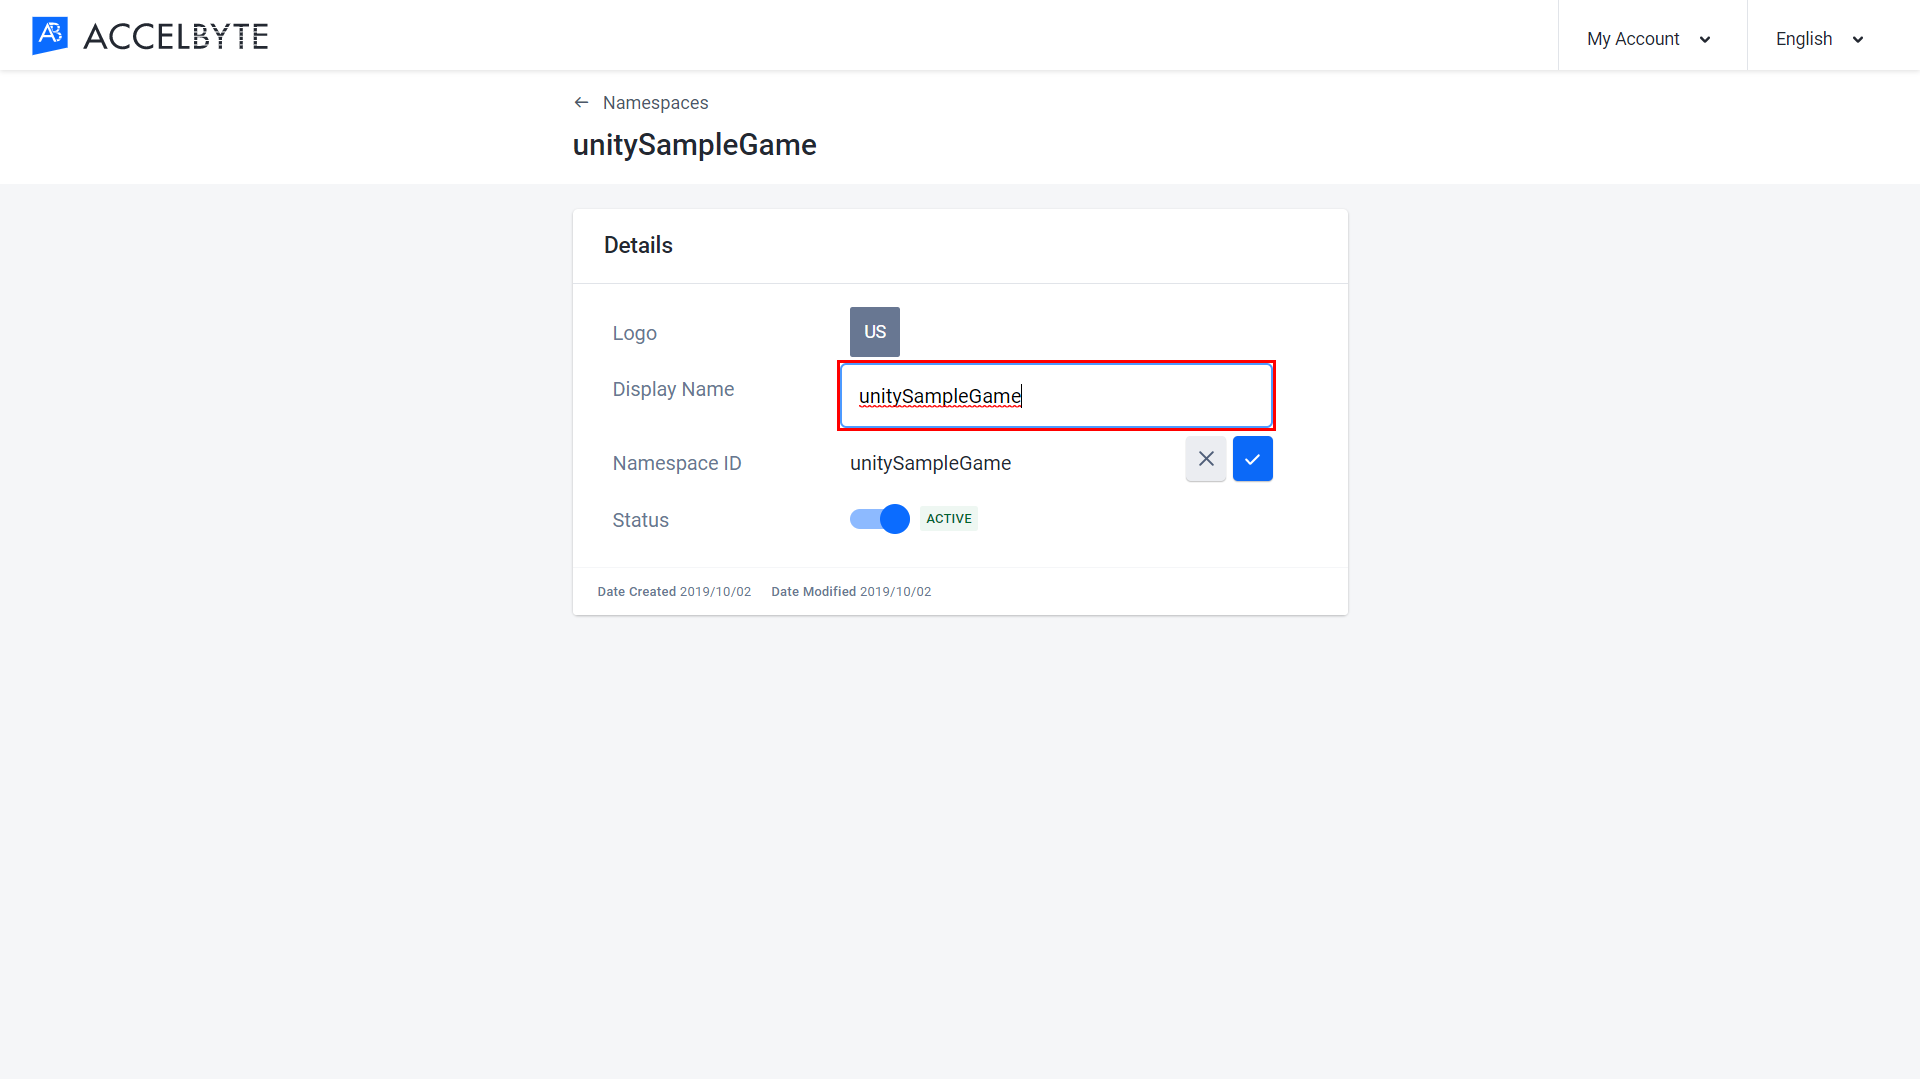
- Once completed, click the button with the tick symbol next to the Display Name field to confirm.
Activate/Deactivate a Game Namespace
In the AccelByte Cloud Admin Portal, select the Namespace menu on the left sidebar, and then click See all namespaces.

On the Your Namespace page, choose the game namespace that you want to activate/deactivate and click the gear button.

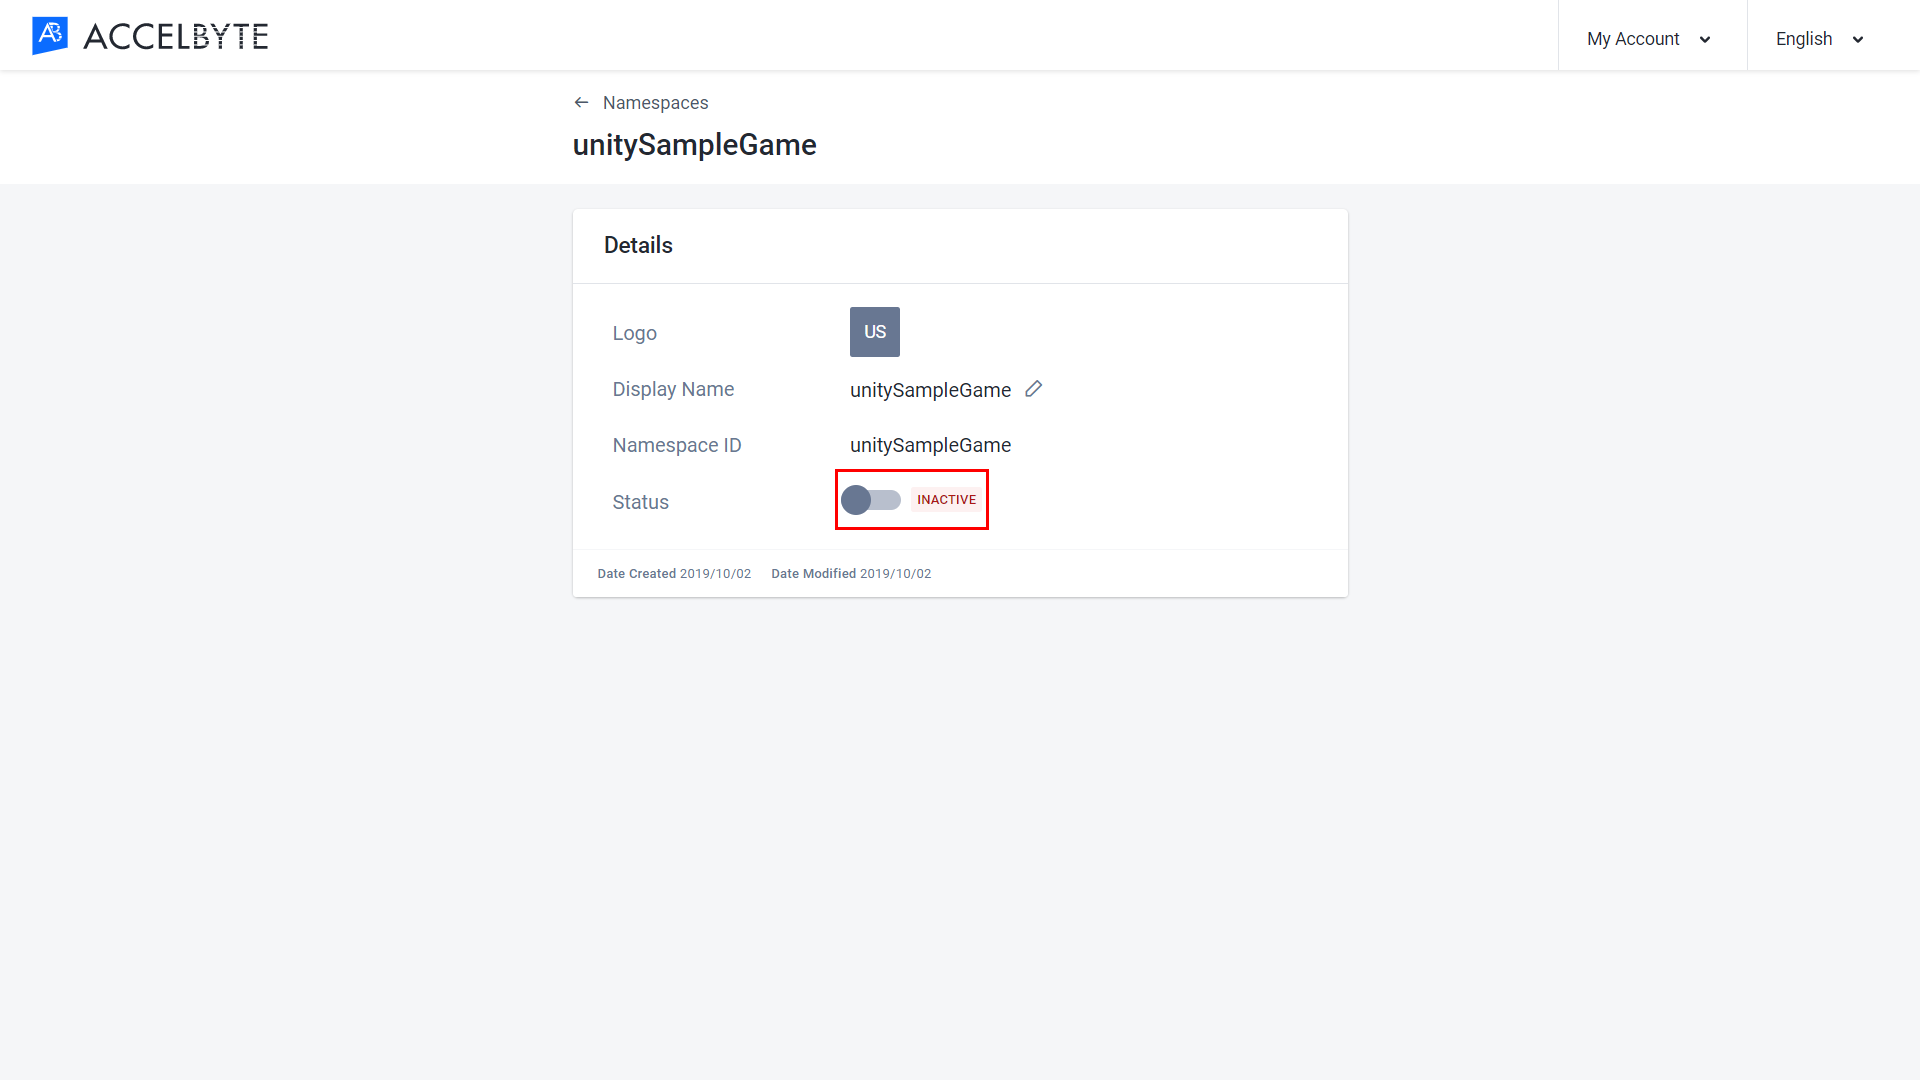
On the Details page, click the toggle next to the Status field.

The toggle will change from Active to Inactive or vice versa.
What's Next?
- To learn more about how namespaces operate in our services, take a look at Authentication and Authorization.